20 Lovely a Petsafe Collar Instructions Like That
Page 5 Your dog must be carefully examined daily for any signs of a rash or sore. Place the Receiver Collar on your pet so that the PetSafe logo is facing your pets chin.
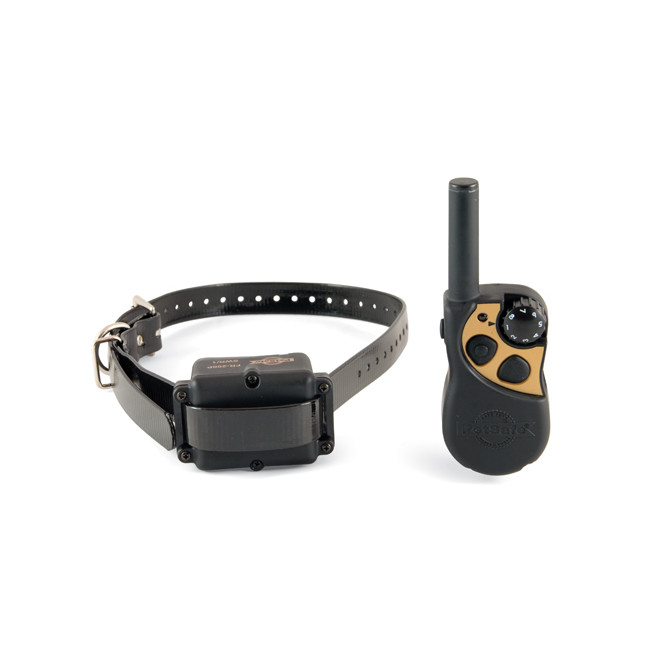
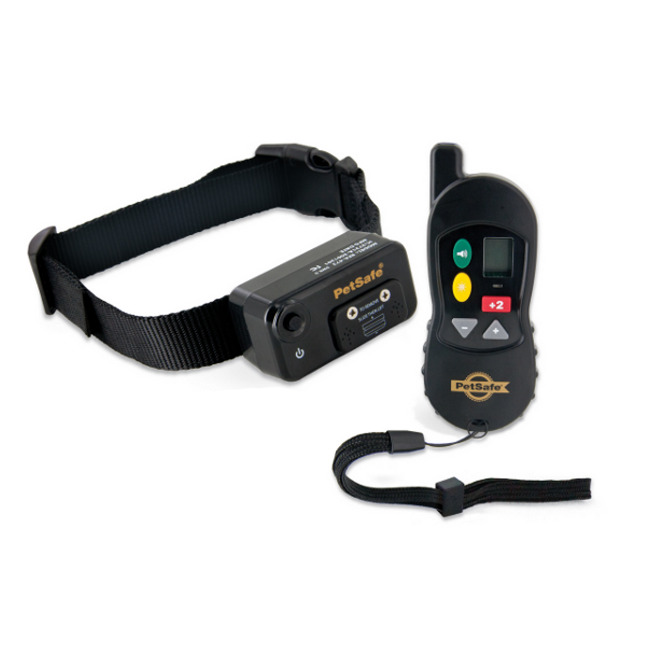
Support Manuals 250 M Remote Trainer Petsafe Uk
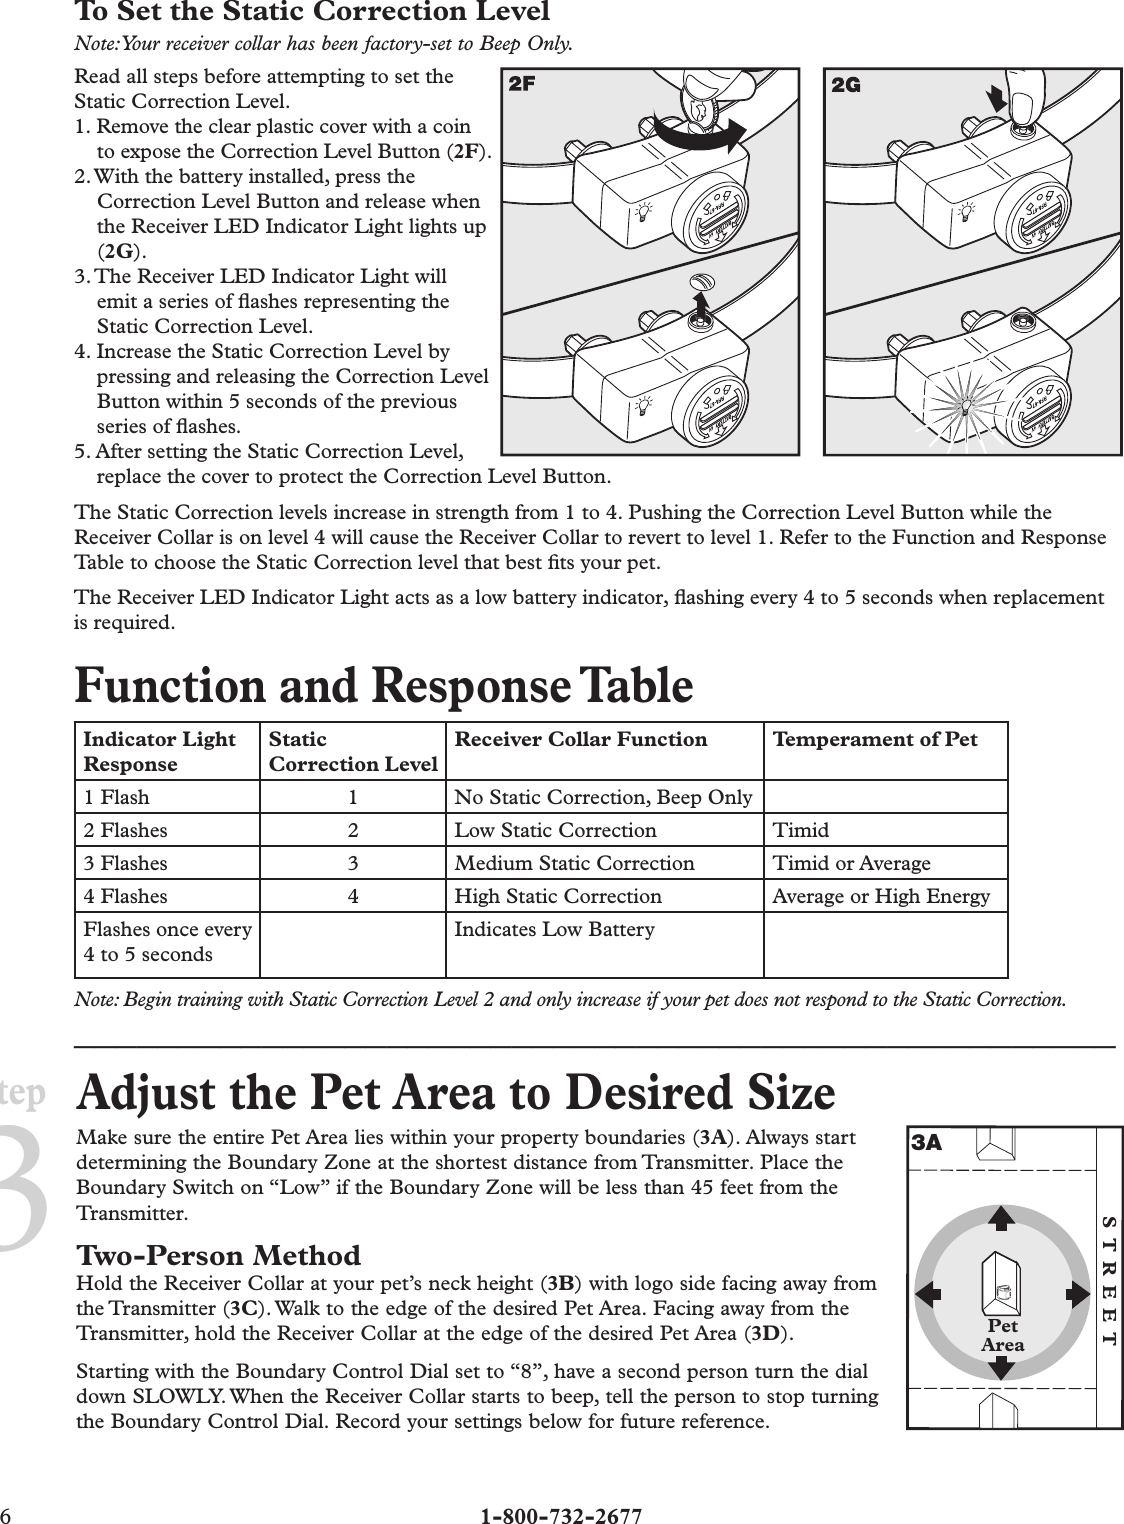
Find the Best Intensity Level for Your Pet.
Petsafe collar instructions. To set lower levels continue through all the levels until there is one flash indicating level 1. Avoid leaving the collar on the dog for more than 12 hours per day. Attach the receiver to the collar.
Re-synchronize the System Remove the Receiver Collar from your pet. Call us at 1-866-738-4379. If a rash or sore is observed discontinue the use of the Bark Control Collar for a few days.
Use of other tools will void the warranty. Check the fit to prevent excessive pressure. The Contact Points must have direct contact with your dogs skin on the underside of his neck.
Operating Guide The MicroLite Computer Collar Unit The MicroLite Computer Collar unit is a patented microprocessor-controlled device powered by a patented Power Cap unit. Lay the collar flat. Replace the Receiver Collar with a regular collar.
Taking Your Pet Out of the Pet Area Important. These collars hear and feel the bark of the dog wearing the collar so that it is only activated by the bark from the dog wearing the collar. Will another dogs bark set off the bark control collar.
The above materials will be needed to begin. Once your pet learns the Boundary Zone he will be reluctant to cross it for walks or car rides. Put your pet in a car that is within the Pet Area and drive him out of the Pet Area.
Check the fit to prevent excessive pressure. Make sure that the battery is not installed in the Receiver Collar. When possible reposition the collar on the pets neck every 1 to 2 hours.
Remove the Receiver Collar and leave it in the Pet Area. If the condition persists beyond 48 hours see your veterinarian. When using a separate collar for a leash dont put pressure on the electronic collar.
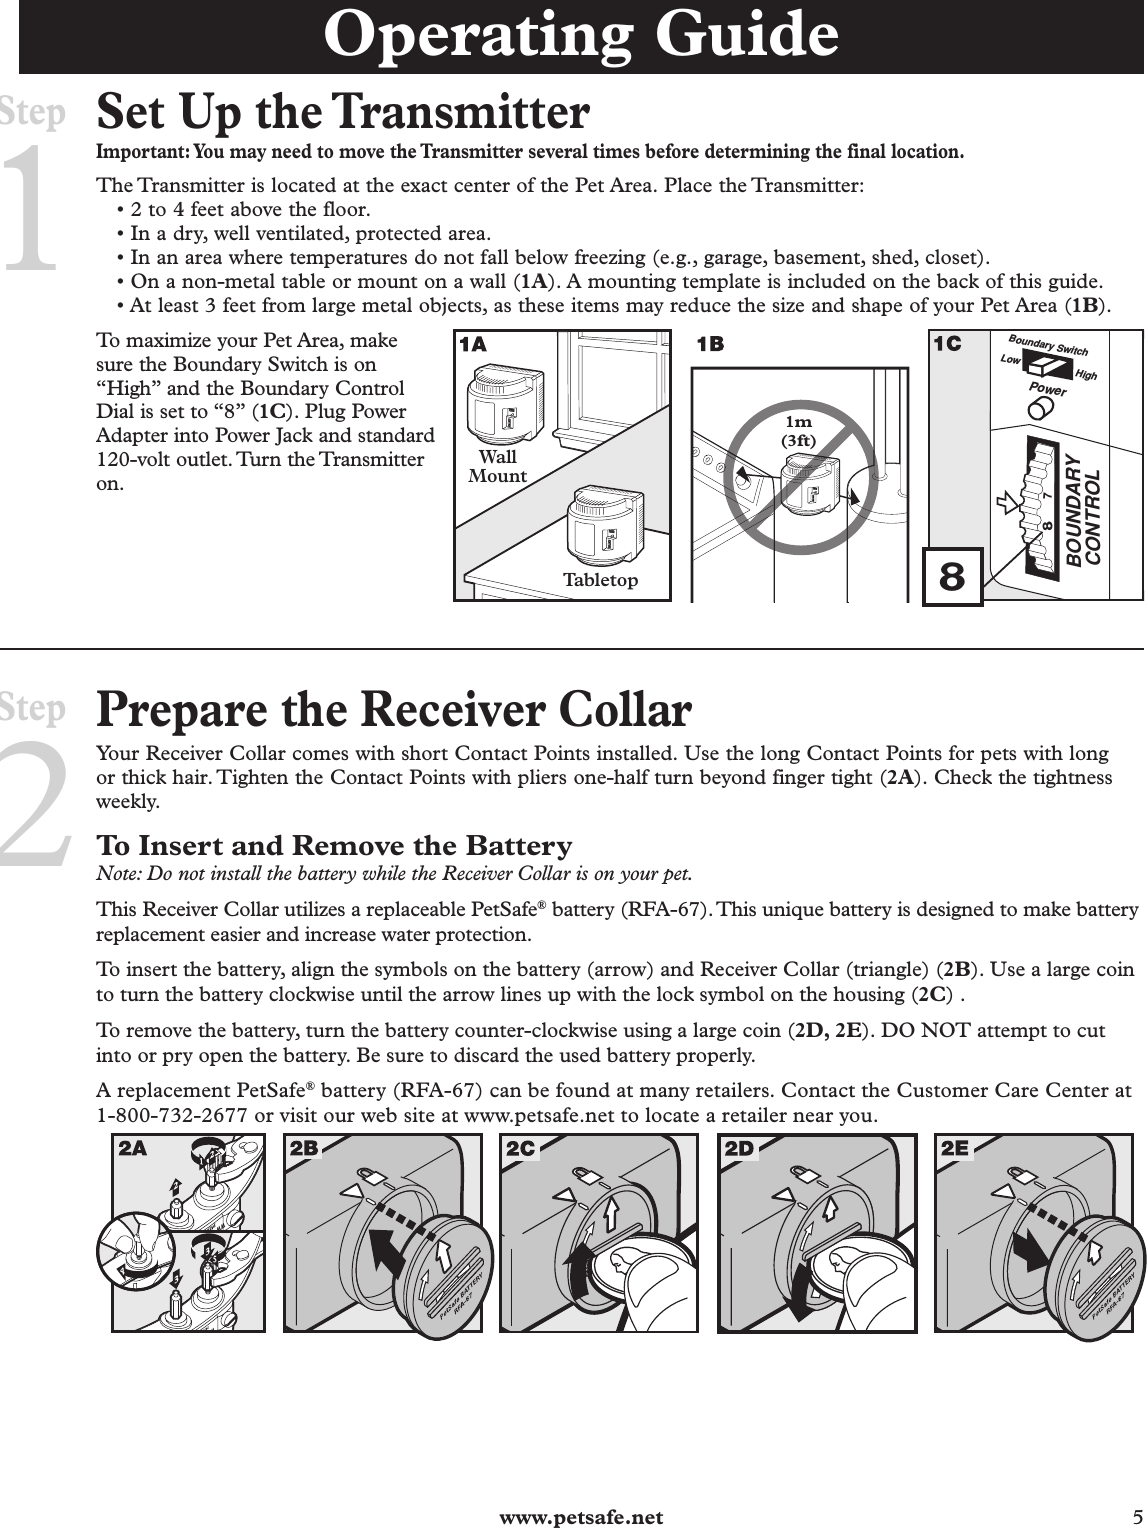
Start with your pet standing comfortably 2A. To remove the battery turn. Prepare the Receiver Collar.
2 Press again quickly to increase the collar level. Remove the battery from the Receiver Collar. You will need to exert force as the metal studs are slightly larger than the holes.
Learn more about your system to understand how the collar works. Check the tightness of the Receiver Collar by inserting 2A. Never connect a lead to the electronic collar.
ONLY use the post tightening tool to tighten the correction posts. When possible reposition the collar on the pets neck every 1 to 2 hours. Fit the Receiver Collar.
Use a large coin to turn the battery clockwise until the arrow lines up with the lock symbol on the housing. Center the Contact Points underneath your pets neck touching the skin. At the transmitter move the Boundary Switch from the low to the high position.
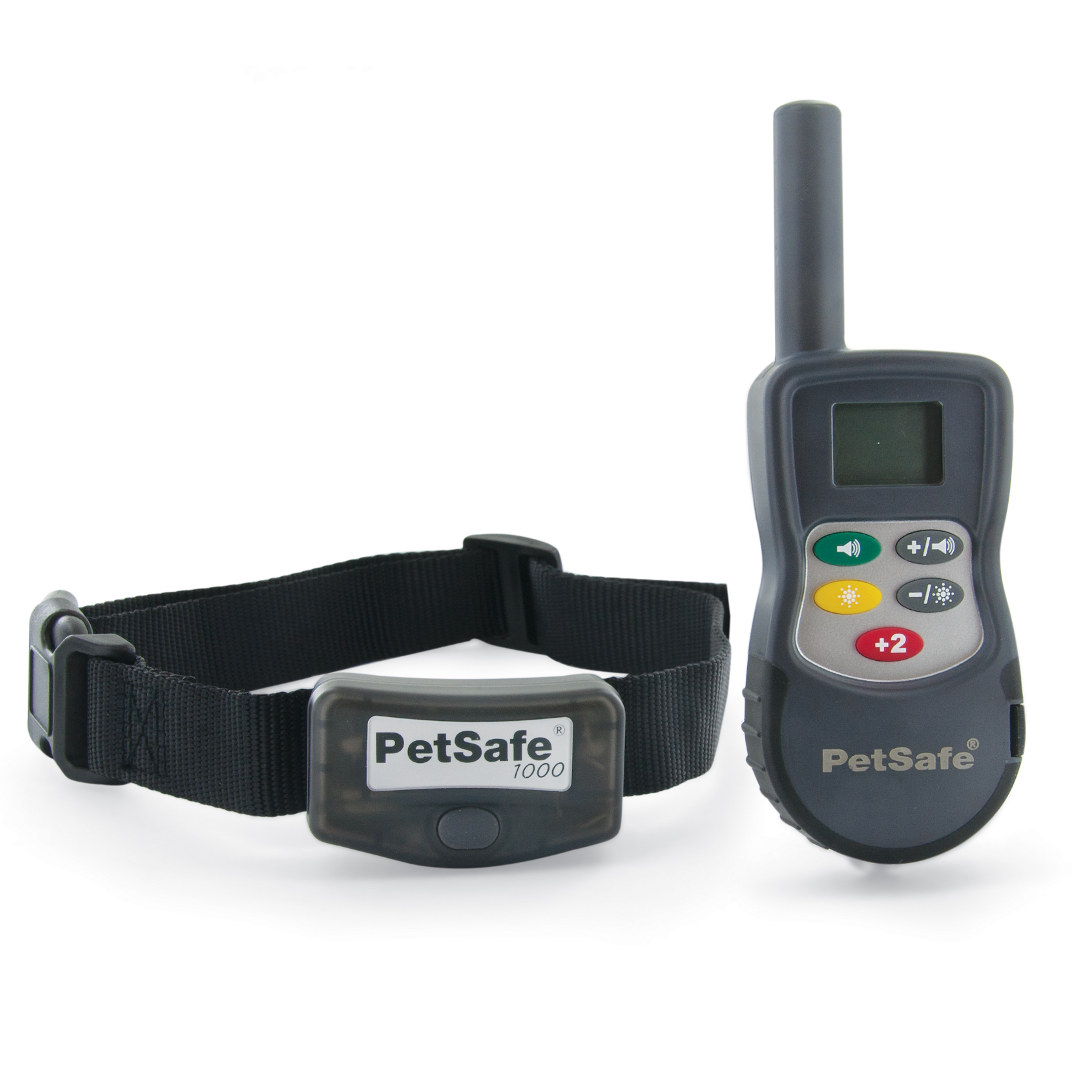
5Operating Guide Prepare the Remote Transmitter. Place the Receiver Collar on your pet so that the PetSafe logo is facing your pets chin. Only PetSafe bark control collars with our patented Perfect Bark dual detection technology will not be set off by another dogs bark.
Center the Contact Points underneath your pets neck touching the skin. This video from PetSafe gives you a step-by-step guide with tips and troubleshooting for training your dog to understand and respect your new PetSafe conta. Press down to firmly attach the metal studs onto the collar.
Reset the Receiver Collar. Well help you with product manuals setup training and troubleshooting. The number of flashes on the collar indicates the current collar level.
Download fitting guide and browse FAQs for PetSafe harnesses including Easy Walk Gentle Leader and Come With Me Kitty harnesses. To your new PetSafe Basic Bark Control Collar. If the strap is too long for your pet follow the instructions below to trim the excess.
Discharge all power by holding the correction level button down until the LED is no longer illuminated. Follow the instructions in this manual. Changing The Power Cap Unit.
It is sometimes necessary to trim the hair around the Contact Points to make sure that contact is consistent. Follow the instructions in this manual. Bark Control Get troubleshooting training and answers to frequently asked questions for bark collars and ultrasonic bark deterrents.
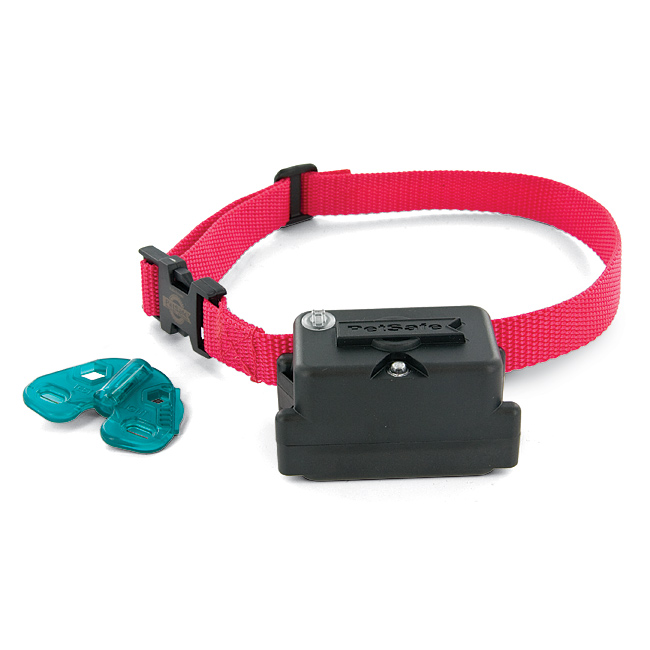
Never connect a leash to the electronic collar. Align the two metal studsprobes on the receiver over the two holes in the collar. Screw the probes towards the right with your hand to tighten them.
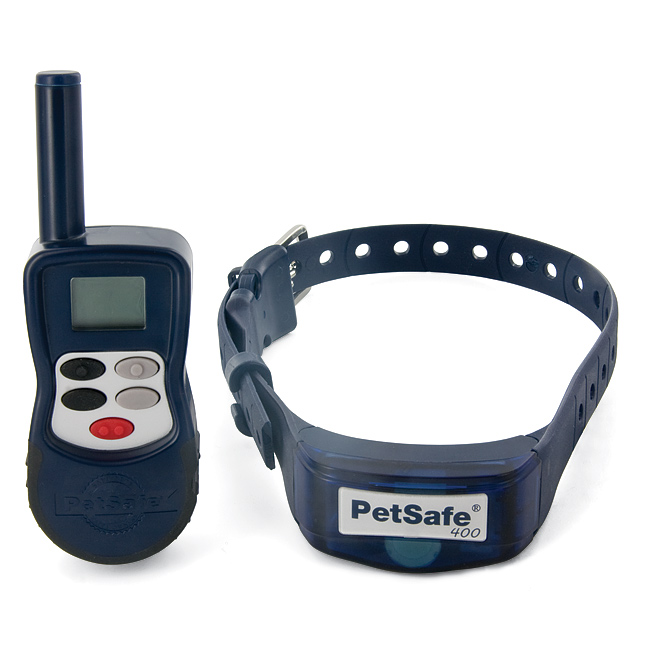
Support Manuals 350m Little Dog Deluxe Remote Trainer Petsafe South Korea
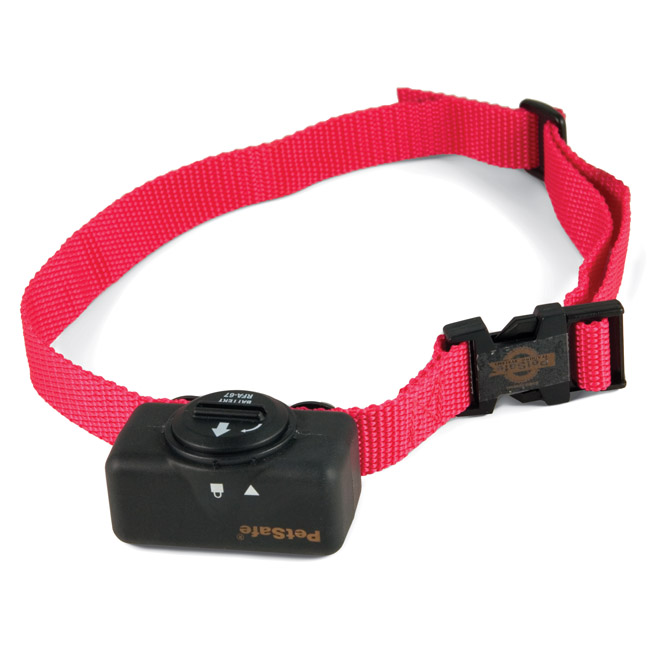
Support Manuals Basic Bark Control Collar Petsafe Kuwait
Radio Systems If101 Petsafe Wireless Pet Containment System User Manual 400 650 3 Indd
Support Manuals Big Dog Remote Trainer Petsafe Australia
Support Manuals Stubborn Dog Add A Dog Extra Receiver Collar Petsafe Uk
Support Manuals St 900 Bd Big Dog Deluxe Remote Trainer Petsafe Indonesia
Radio Systems If101 Petsafe Wireless Pet Containment System User Manual 400 650 3 Indd
Protx1plus Pet Containment System User Manual 400 744 Radio Systems
Pif150 Petsafe Premium Wireless Fence Transmitter User Manual 400 651 4 Indd Radio Systems

Setup Step 2 Prepare The Receiver Collar
Protx1plus Pet Containment System User Manual 400 744 Radio Systems
Thank you for visiting our site with the topic 20 Lovely a Petsafe Collar Instructions Like That
0 Response to "20 Lovely a Petsafe Collar Instructions Like That"
Post a Comment